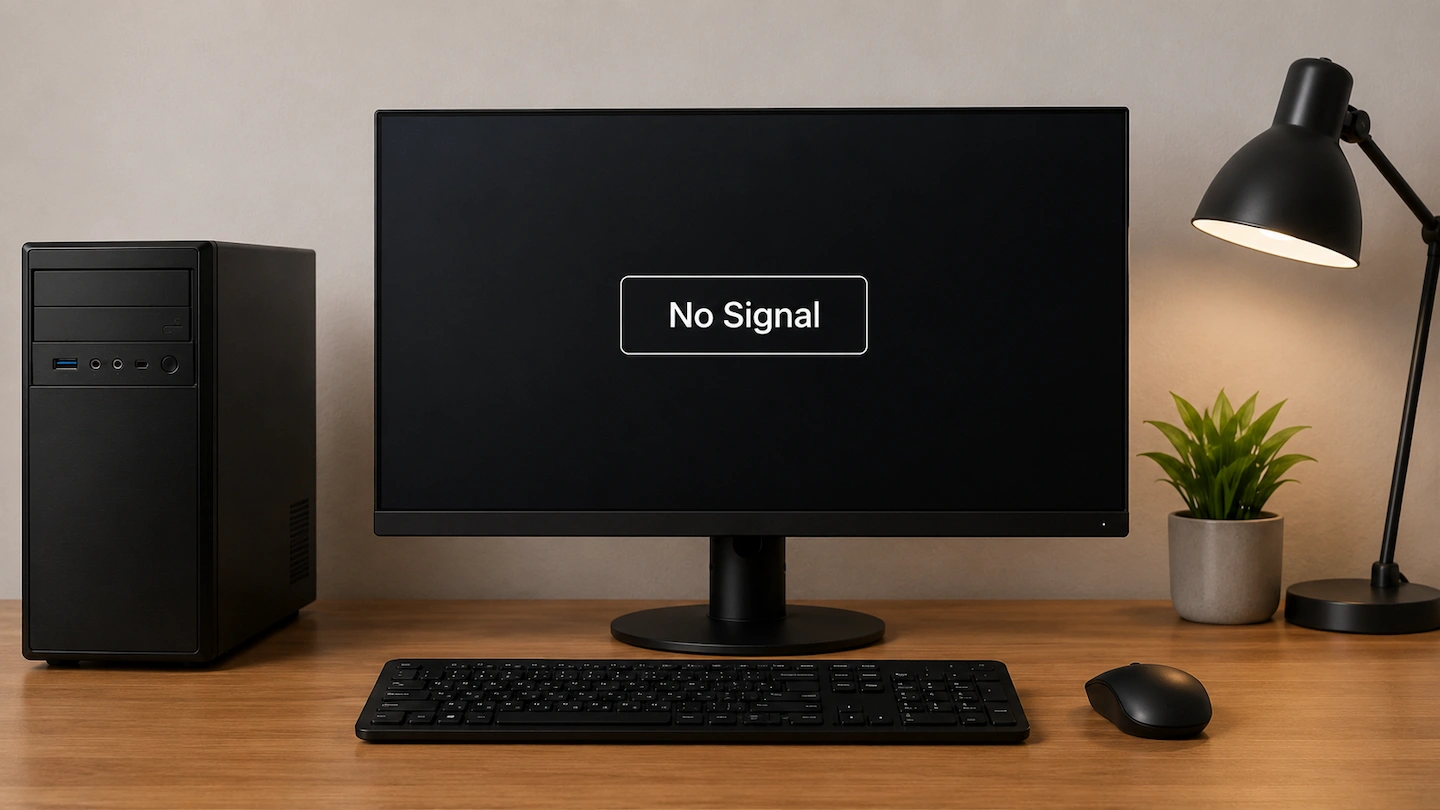
If your monitor says No Signal, the monitor has power but is not currently receiving a usable picture through the connection it is trying to use.
That does not automatically mean the monitor, cable or computer has failed. Start with the monitor input and physical connection, then work through the signal path one part at a time.
Quick answer: If your monitor says No Signal:
- Make sure the monitor is set to the correct HDMI, DisplayPort or USB-C input.
- Disconnect and firmly reconnect the display cable at both ends.
- Make sure the computer is awake and restart it normally if practical.
- Try another suitable cable if you already have one available.
- Bypass any dock, hub or adapter where possible.
- If another screen still works, check whether Windows can see the problem monitor.
If Windows cannot detect the external monitor at all, see Laptop Won’t Detect a Second Monitor: What to Check. If Windows does detect it but the monitor still says No Signal, there are a few further checks below.
What Does It Mean When a Monitor Says No Signal?
A No Signal, No Input, HDMI No Signal or DisplayPort No Signal message usually means the monitor is switched on but is not receiving a usable video signal through the input it is currently using.
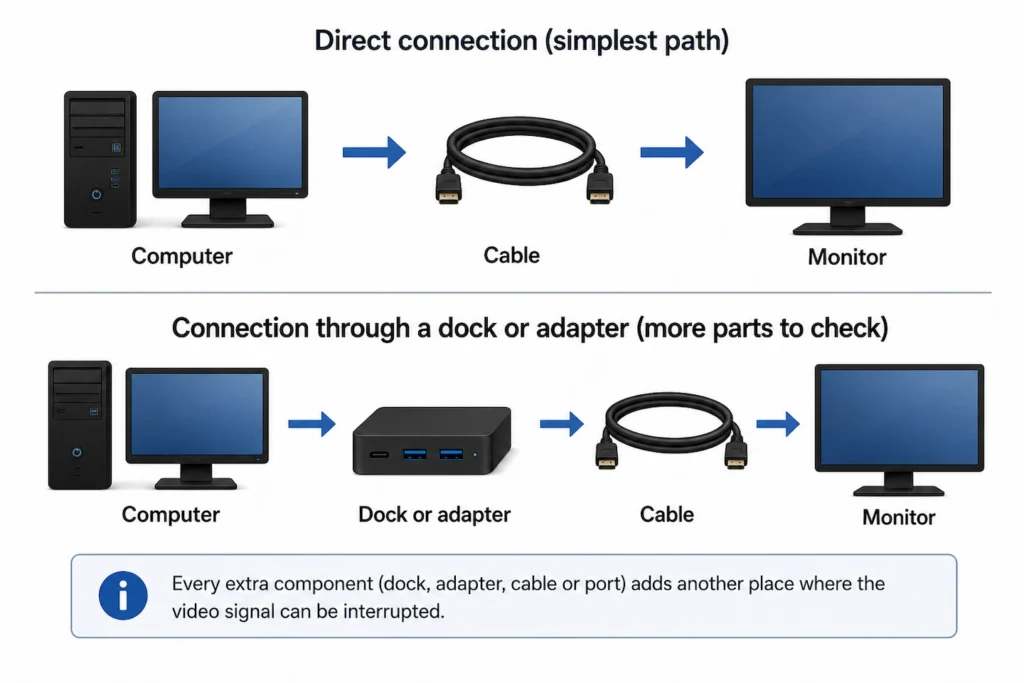
The display path might be as simple as:
Computer → cable → monitor
Or it may contain extra parts:
Computer → dock or adapter → cable → monitor
A problem anywhere along that path can stop the picture reaching the screen.
That is why a No Signal message does not, by itself, prove that the monitor, cable or computer is faulty.
The most useful approach is to start with the simplest checks and then change one part of the connection at a time.
If you are using a direct HDMI connection and the monitor specifically reports an HDMI signal problem, HDMI Connected but Monitor Says No Signal takes you through the HDMI-specific checks in more detail.
What to Check First
1. Make Sure the Monitor Is Using the Right Input
Most monitors can accept more than one video connection.
Depending on the model, the available inputs might include:
- HDMI 1;
- HDMI 2;
- DisplayPort;
- USB-C;
- or another labelled input.
Use the monitor’s own buttons, joystick or on-screen menu to find its Input or Source setting.
Make sure the selected input matches the socket where the display cable is connected.
For example, if the cable is plugged into HDMI 1 but the monitor is set to DisplayPort, the monitor may show No Signal even though nothing is broken.
Some monitors switch inputs automatically, while others do not.
Why this matters: checking the selected input is quick, reversible and rules out a simple mismatch before you start changing Windows settings or replacing hardware.
2. Reconnect the Display Cable at Both Ends
Disconnect the display cable from both ends of the connection.
For a direct connection, that normally means disconnecting it from:
- the computer;
- and the monitor.
If you are using a dock, hub or adapter, also check the connection there.
Look for anything obviously wrong with the connector, such as visible damage, debris or a plug that does not sit properly.
Reconnect the cable firmly at both ends and give the monitor a few seconds to respond.
Microsoft also recommends checking that the cable between the PC and external monitor is securely connected before moving into more involved troubleshooting.
If the picture returns, there is no benefit in continuing to make changes.
Why this matters: a loose connection can interrupt the video signal even though both the monitor and computer still have power.
If You Are Using a Desktop PC
Some desktop computers have display sockets in more than one area on the rear of the case.
If your computer has a separate graphics card, check that the monitor cable is connected to the display output intended for that system.
Some desktops also have video sockets built into the motherboard, but whether those work depends on the hardware and configuration.
If you are unsure which connection to use, check the computer or motherboard manufacturer’s documentation for the exact model rather than moving the cable between sockets at random.
3. Make Sure the Computer Is Awake and Restart It
First make sure the computer has not simply gone to sleep.
Try moving the mouse or pressing a normal key on the keyboard.
If you still have a working laptop screen or another monitor, save any open work and perform a normal Windows restart:
Start → Power → Restart
If the problem monitor is your only screen and you cannot see Windows, do not force repeated shutdowns just to complete this step. Continue with the physical checks below instead.
If the same monitor setup worked normally before and the picture returns after restarting, stop troubleshooting unless the problem keeps coming back.
A restart fixing the immediate problem does not necessarily tell you what caused it, but there is no reason to make more changes while everything is working.
Check the Rest of the Display Connection
If the first checks have not restored the picture, start isolating individual parts of the connection.
Try to change one thing at a time. If you change the cable, monitor input, dock and Windows settings together, you may get the picture back without learning which change mattered.
4. Has This Exact Setup Worked Before?
Think about the:
- computer;
- monitor;
- cable;
- computer port;
- monitor input;
- and dock or adapter, if one is being used.
If It Used to Work
Basic compatibility becomes less likely.
Think about anything that changed shortly before the problem appeared.
For example:
- was the cable disconnected or moved?
- was the monitor connected to another input?
- was a different dock or adapter introduced?
- was the computer moved?
- did Windows or the computer manufacturer install updates?
A recent change is a useful clue, but do not assume it caused the problem simply because the timing matches.
If It Has Never Worked
Compatibility deserves more attention.
This is particularly important with USB-C connections, docking stations, hubs and display adapters.
Two connectors fitting together does not necessarily mean the complete connection supports the video signal you need.
5. Try Another Suitable Cable
If you already have another suitable display cable available, swap the cable while leaving the rest of the setup unchanged.
For example, when testing HDMI, keep the same:
- computer;
- computer port;
- monitor;
- and monitor input.
Change only the HDMI cable.
If the picture appears with the replacement cable, the original cable becomes the main suspect.
If nothing changes, move on. There is little value buying several cables simply because the first alternative did not solve the problem.
With USB-C, make sure the comparison cable is actually suitable for video because USB-C cables do not all support the same functions.
6. Bypass a Dock, Hub or Adapter
If the monitor connects through a docking station, hub or display adapter, remove that extra hardware temporarily where possible.
Instead of:
Computer → dock or adapter → cable → monitor
try:
Computer → suitable cable → monitor
If the picture returns, the dock, adapter or its connection deserves closer attention.
If nothing changes, continue checking the rest of the display path rather than assuming the dock caused the problem.
Why this matters: every extra component adds another point where the video signal can be interrupted.
7. Try Another Suitable Port or Monitor Input
If your hardware provides another compatible option, test it while changing as little else as possible.
For example, you may be able to try:
- HDMI 2 instead of HDMI 1 on the monitor;
- another supported HDMI or DisplayPort output on the computer;
- or another display connection that both devices are designed to use.
If one input repeatedly works while another does not, the original connection deserves closer attention.
That does not automatically prove the socket itself is physically faulty. The cable, adapter, compatibility or computer-side connection may still be involved.
8. Test the Monitor With Another Computer If Practical
If another suitable computer is already available, connect the monitor to it.
If the monitor works normally, attention shifts more towards the original computer or its display output.
If the monitor still says No Signal, the monitor, cable or monitor-side connection deserves closer attention.
If possible, repeat the test with another known-suitable cable before concluding that the monitor itself has failed.
If you do not have another computer available, simply skip this test.
If You Still Have Another Working Screen
The following Windows checks are useful if your laptop screen or another monitor still works.
If the No Signal monitor is your only screen, skip this section.
Check Windows + P
Press:
Windows key + P
Try Duplicate or Extend, depending on how you want to use the external display.
The normal options are:
- PC screen only — uses the main PC or laptop display;
- Duplicate — shows the same desktop on both screens;
- Extend — spreads the desktop across both screens;
- Second screen only — uses the external display.
Microsoft recommends checking the projection mode when troubleshooting external monitors.
If Duplicate or Extend restores the picture, stop there.
Check Whether Windows Detects the Monitor
In Windows 11, open:
Start → Settings → System → Display
Look at the display diagram near the top of the page.
If the external monitor is missing, expand:
Multiple displays
and select:
Detect
If Windows Does Not Detect the Monitor
The problem has become more specific.
See Laptop Won’t Detect a Second Monitor: What to Check for the Windows detection, connection and manufacturer-update checks in the right order.
There is little value repeating that full troubleshooting process here.
If Windows Detects the Monitor but It Still Says No Signal
Do not keep pressing Detect.
If the picture does return but the monitor repeatedly flickers or cuts out rather than staying on No Signal, External Monitor Flickering or Cutting Out: What to Check First is the better troubleshooting path.
If this display setup worked previously, Microsoft also documents a low-risk graphics reset you can try:
Windows key + Ctrl + Shift + B
The screen may briefly flicker or beep while Windows resets the graphics driver.
If that makes no difference, continue with the hardware-isolation results you have already gathered rather than repeatedly changing display settings.
If You Are Connecting the Monitor With USB-C
USB-C needs a little extra care because ports and cables do not all support the same functions.
A USB-C connector fitting into both devices does not automatically mean the laptop port or cable supports video.
If the setup has never displayed a picture, see Does My Laptop USB-C Port Support a Monitor?
If the monitor charges the laptop but shows no picture, see USB-C Monitor Charges Your Laptop but Shows No Picture.
Those guides cover the USB-C-specific checks in more detail without turning this article into a general USB-C troubleshooting guide.
How to Tell Where the Problem Probably Is
Once you have performed several controlled tests, the pattern is more useful than the No Signal message on its own.
| What you find | What it suggests |
|---|---|
| Another suitable cable works | The original cable becomes the main suspect |
| Another monitor input works | The original input or connection deserves attention |
| A direct connection works but the dock does not | Focus more closely on the dock, adapter or accessory path |
| The monitor works with another computer | Focus more closely on the original computer or its display output |
| Another monitor works with the original computer | The original monitor or its input becomes more suspicious |
| Windows detects the monitor but it still says No Signal | Focus on the display/signal path rather than basic detection |
| Windows cannot detect the external monitor | Move to the dedicated second-monitor detection guide |
| USB-C charging works but video does not | Check USB-C video capability and the USB-C signal path |
These are diagnostic clues rather than absolute proof.
For example, a monitor working through HDMI but not DisplayPort does not automatically prove that the DisplayPort socket is broken.
The aim is to narrow down the problem before making disruptive changes or buying replacement hardware.
What Probably Isn’t Worth Doing Yet
A No Signal message on its own is not a good reason to jump straight into advanced troubleshooting.
Avoid using these as generic early fixes:
- uninstalling graphics drivers;
- downloading third-party driver-updater software;
- changing BIOS or UEFI settings at random;
- opening the computer to reseat RAM or the graphics card;
- replacing the monitor immediately.
Some of those steps can be appropriate when there is evidence pointing towards an internal hardware or software problem.
They are simply poor first steps for a monitor showing No Signal.
If your testing eventually points towards an internal PC hardware problem, use the computer manufacturer’s troubleshooting information or suitable technical support rather than opening the computer solely because the monitor is not receiving a picture.
Further Checks If the Monitor Still Says No Signal
If the exact setup worked previously and the physical tests have not explained the problem, check the official support pages for your computer, dock and monitor.
Look for relevant updates intended for your exact model, which may include:
- graphics or system drivers;
- dock firmware;
- system firmware;
- or BIOS/UEFI updates.
Use the manufacturer’s official support site or update utility rather than a generic driver-download website.
Do not assume that an available update is definitely the cause of the problem. This is a later troubleshooting step after the physical display path has been checked.
If the manufacturer recommends a BIOS or firmware update for your exact model, follow its instructions carefully, keep a laptop connected to mains power and do not interrupt the update.
When Repair or Replacement Might Make Sense
A No Signal message on its own is not a good reason to replace the monitor.
Repair or replacement becomes more reasonable when repeated tests give you stronger evidence.
For example, the monitor deserves closer attention if:
- it repeatedly fails with more than one known-compatible computer;
- more than one suitable cable has been tested;
- one monitor input consistently fails while another works;
- the monitor shows other hardware faults;
- or the manufacturer identifies a hardware problem.
The computer deserves closer investigation if:
- more than one known-working monitor fails from it;
- another computer works normally with the same monitor and cable;
- the fault consistently follows one computer output;
- or manufacturer diagnostics point towards a computer-side problem.
Similarly, if a direct connection works but the display repeatedly fails through a dock or adapter, replacing the monitor is unlikely to solve the underlying problem.
You do not need to buy new hardware simply because the screen currently says No Signal.
Start with the input and cable, simplify the connection, then use the results of each test to work out which part of the signal path deserves attention.
References
- Microsoft — Troubleshoot external monitor connections in Windows
- Microsoft — How to use multiple monitors in Windows
Category: Monitors & Connections