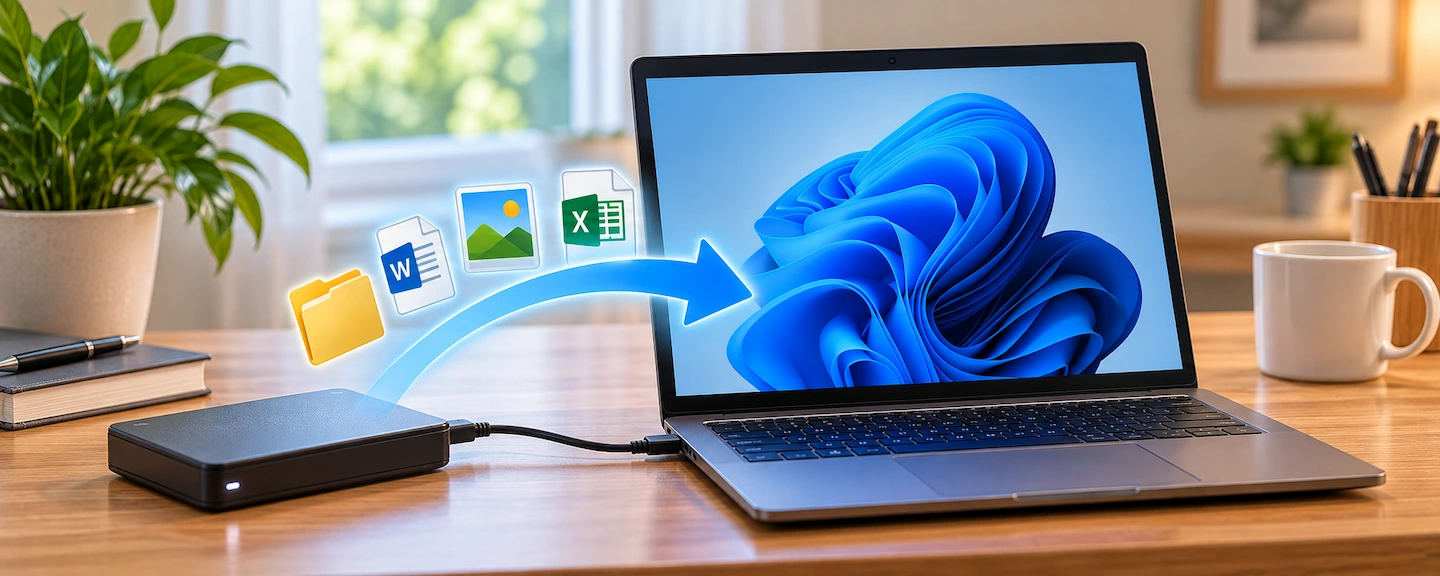
If you need to restore files from a backup in Windows 11, the right method depends on how the backup was created. You may have copied files manually to an external drive, used File History, created a backup with Backup and Restore, or protected files through OneDrive.
You usually do not need to restore your whole computer just to get a document, photo or folder back. The first step is to identify what kind of backup you have.
Quick answer: If your external backup drive contains ordinary folders and files, you can usually copy the files you need back to your computer with File Explorer.
If you used File History or Backup and Restore, use the restore tools provided with those features instead.
If a file with the same name already exists on your computer and you are not sure which version you need, restore the backed-up copy to a different folder first. You can then check it before replacing anything.
First, work out what kind of backup you have
You do not need to understand every Windows backup feature. Look for the description below that best matches what you previously did.
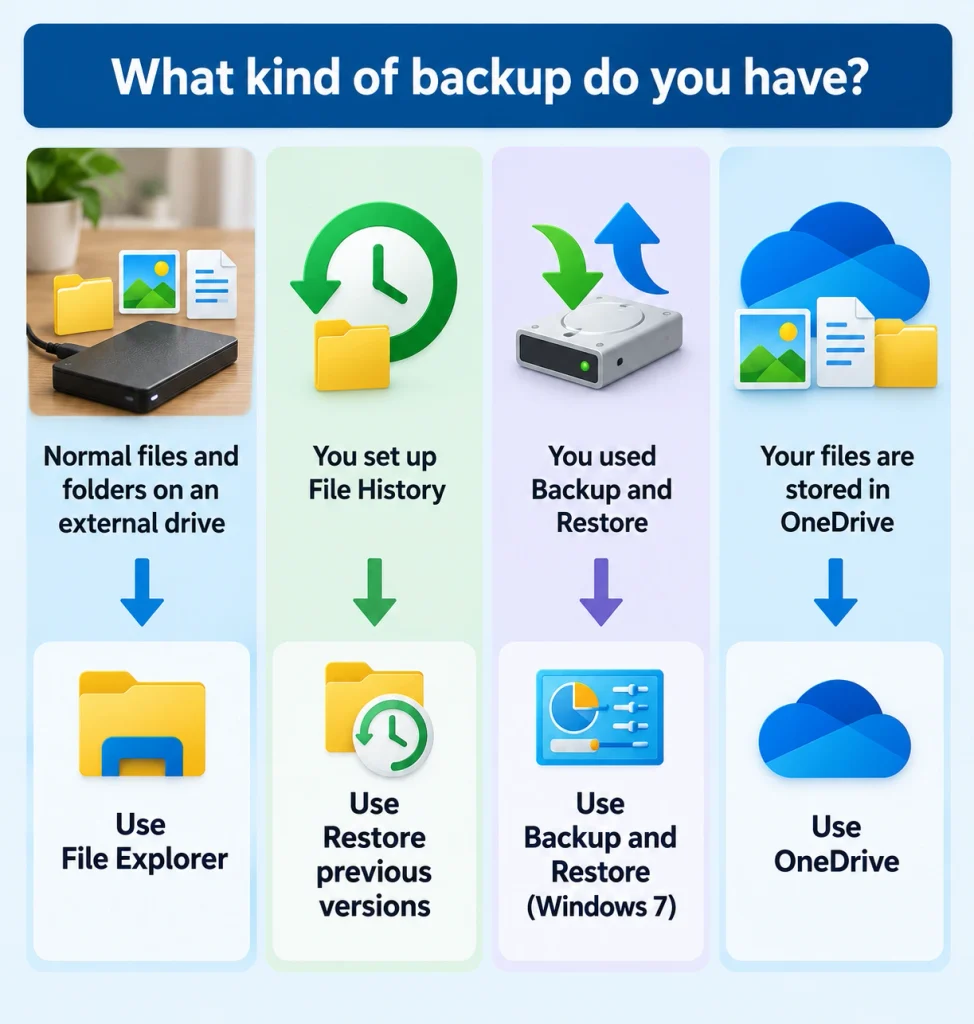
| What you see or remember | Likely backup type | What to use |
|---|---|---|
| Normal folders and files on an external drive | Files copied manually | File Explorer |
| You previously set up File History | File History | File History restore |
| You used Backup and Restore in Control Panel | Backup and Restore (Windows 7) | Its restore wizard |
| Your protected files are stored in OneDrive | Windows Backup / OneDrive | OneDrive |
If you are unsure, connect your external backup drive and open it in File Explorer. If you can browse normal folders and open individual documents, photos and other files directly, you may simply have copied those files to the drive.
If you are trying to understand the difference between Windows backup features before continuing, Windows Backup vs File History: What’s the Difference? explains what each one is designed to do.
How to restore files you copied to an external drive
If you originally backed up your files by copying them to an external hard drive or SSD, you do not need a special Windows restore tool.
- Connect the external backup drive to your computer.
- Open File Explorer.
- Select the external drive.
- Find the file or folder you want to restore.
- Select it and choose Copy.
- Open the folder on your computer where you want the restored copy to go.
- Choose Paste.
Copy the file rather than moving it. This leaves the backup copy on the external drive while you check that the restored file is working properly.
If you originally followed How to Back Up Files to an External Drive in Windows 11, this is essentially the reverse of that process: find the backed-up copy and copy it back to the appropriate location on your computer.
What if the file already exists?
Be cautious if Windows tells you that a file with the same name already exists at the destination.
The backed-up copy might be older than the file currently on your computer. Replacing the current file immediately could therefore remove changes you still need.
If you are unsure, create a temporary folder and copy the backed-up file there first. Open it and check its contents before deciding whether to replace the existing version.
How to restore a file with File History
If you previously set up File History, Windows may have stored several versions of your personal files. Microsoft explains how File History can be used to restore previous versions of files and folders. This can be useful when you need a file that was deleted or an earlier version from before unwanted changes were made.
To look for a backed-up version:
- Connect the drive that contains your File History backup, if it is not already connected.
- Open File Explorer and go to the folder that previously contained the file or folder you need.
- Right-click that folder and select Restore previous versions.
- Select the previous version that contains the file or folder you want.
- Preview the contents if necessary to make sure you have found the right version.
- Choose how you want to restore it.
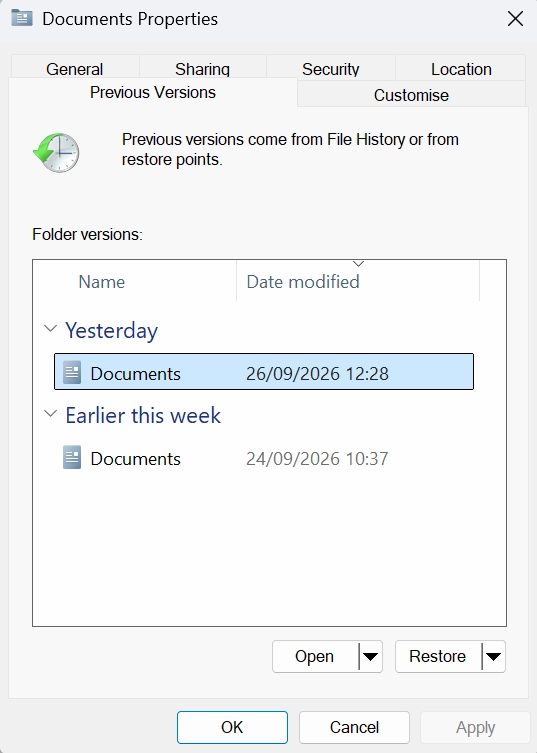
Pay attention to the date of the available version. The newest version is not necessarily the one you need if you are trying to recover a file from before it was changed.
Restore somewhere else if you are unsure
File History can restore a backed-up version to its original location, but doing so can replace the version that is already there.
Before choosing Restore, check the date carefully and make sure you have selected the version you actually want. Windows may warn you if restoring it will replace the current version and cannot be undone.
If you are not certain that you want to replace the current version, cancel rather than continuing with the restore. You can then check the available previous version first using Open.
How to restore files from Backup and Restore (Windows 7)
Windows 11 can still provide access to the older Backup and Restore (Windows 7) feature. Microsoft still documents using Backup and Restore to restore files from an external-storage backup. The name can be confusing, but seeing “Windows 7” does not necessarily mean you have opened the wrong tool.
If your files were backed up using this feature:
- Connect the drive containing the backup.
- Open Control Panel.
- Open Backup and Restore (Windows 7).
- Look for the options to restore files from a backup.
- Select the appropriate backup if Windows asks you to choose one.
- Browse or search the backup for the files and folders you want.
- Follow the restore wizard to choose where the recovered files should be saved.
If you have a choice between restoring files to their original location or somewhere else, consider using a separate folder when you are unsure whether existing files should be replaced.
The goal is to recover the files first. You can decide what to replace after you have checked that the restored copies are correct.
What if your files were backed up with Windows Backup or OneDrive?
Windows Backup and OneDrive are different from a traditional external-drive backup.
If the files you need were protected through OneDrive, check OneDrive for the files rather than looking for them through File History or Backup and Restore.
If you are unsure how the two services relate to each other, Windows Backup vs OneDrive: What’s the Difference? explains the distinction.
It is also worth remembering that synchronised cloud storage and an independent backup are not exactly the same thing. Is OneDrive Really a Backup? What Home Users Need to Know explains why that distinction matters.
What if Windows can’t find your backup?
If the expected backup does not appear, start with simple checks rather than changing Windows settings or altering the backup drive.
Check that the external drive appears in File Explorer
Connect the backup drive and open File Explorer.
If the drive appears there, open it and see what it contains. You may discover that the backup consists of ordinary copied files, in which case you can restore them directly with File Explorer.
If the drive does not appear at all, the immediate problem is not the restore procedure. Windows first needs to recognise the storage device.
Do not format the drive simply because Windows cannot immediately find the backup you expected. Formatting can erase data.
Make sure you are using the right restore method
If you can see the drive but File History cannot find what you need, check whether File History was actually used to create the backup.
Similarly, a folder of files copied manually to an external drive will not normally need to be restored through File History or Backup and Restore.
Return to the table near the beginning of this guide and identify which backup method best matches what you have.
Check whether the file was included in the backup
A backup can only restore files that were actually included when the backup was made.
If the missing file was stored somewhere that was not part of your backup, it may not be available from that particular backup set.
What Files Should You Back Up on a Home Computer? can help you check whether your current backup routine covers the important locations on your computer.
Check the restored file before replacing anything
Finding the file is not quite the end of the process.
Before deleting an existing version or treating the recovery as complete:
- Open the restored file.
- Check that it contains what you expected.
- Confirm that it is the version you wanted.
- Keep the backup copy intact while you check it.
- Only replace or delete another version once you are satisfied that the restored copy is correct.
Successfully opening a restored file is also a useful practical check that your backup contains recoverable data. How to Check That Your Computer Backup Is Actually Working explains other checks worth making before you need the backup in an emergency.
Restoring files is not the same as System Restore
The word restore appears in several Windows features, but they do not all do the same job.
Restoring a file from a backup means retrieving a backed-up copy of something such as a document, photo or folder.
System Restore is designed to reverse certain changes to Windows. It is not the normal tool for retrieving an individual personal file from your backup.
You should not need to reset or reinstall Windows simply because you want to restore a backed-up document or photo.
What to do after your files are restored
Once you have recovered the files you need, leave the backup copy intact until you are confident everything is where it should be.
Open important restored files and make sure they work as expected. It is also a good opportunity to confirm that your normal backup routine is still running and covering the folders that matter.
If you are unsure how frequently your files should be protected, How Often Should You Back Up Your Home Computer? can help you choose a sensible schedule without making backups unnecessarily complicated.