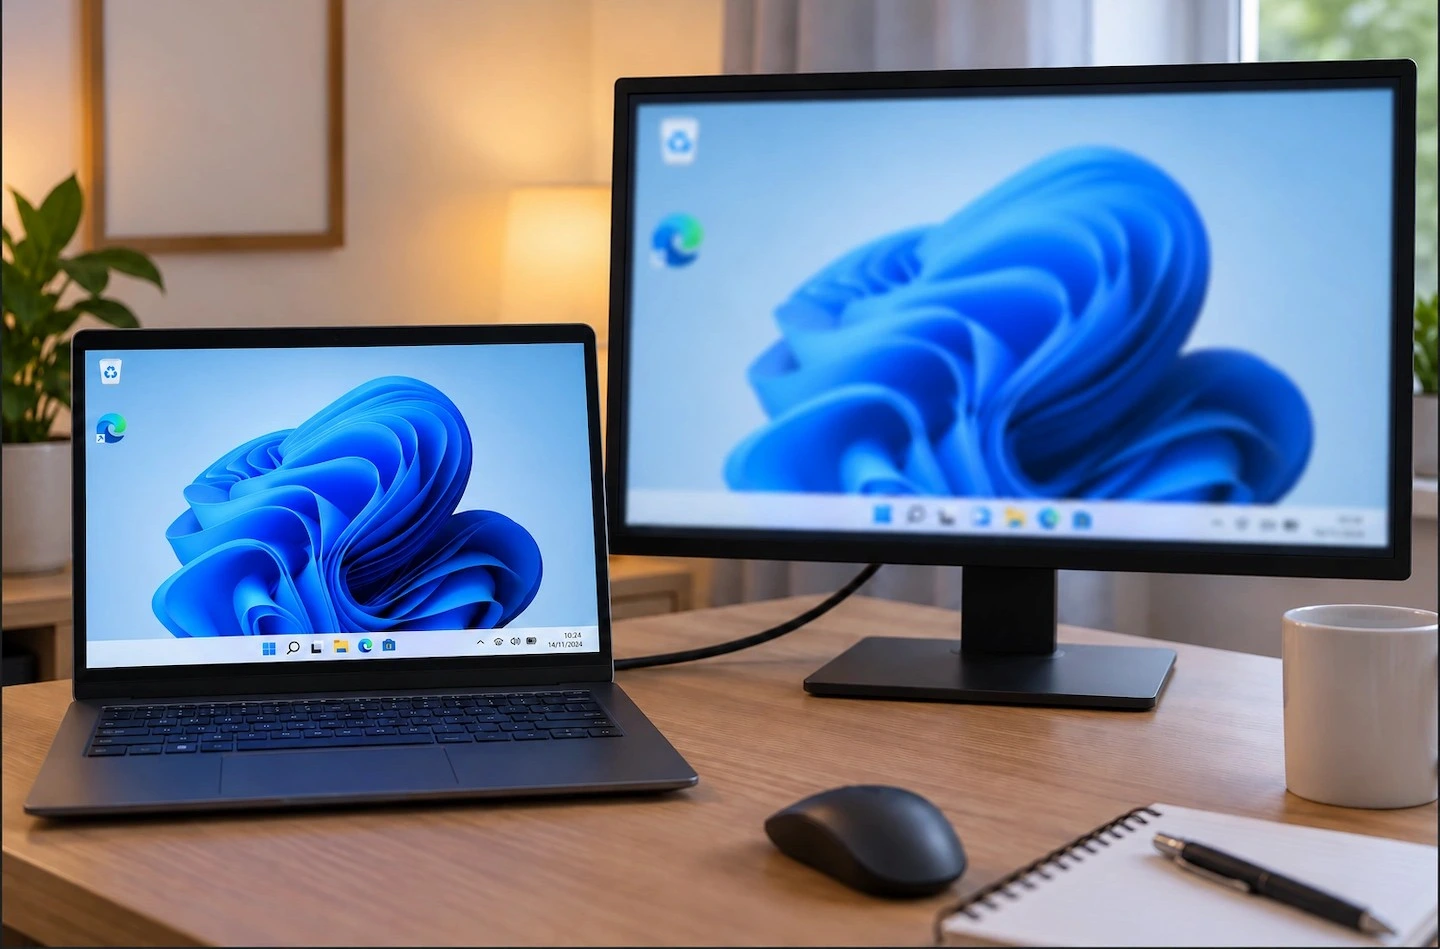
Is your external monitor blurry in Windows 11, stretched, or using the wrong resolution? Start with the display settings before changing drivers or replacing hardware.
The most useful first question is what actually looks wrong. A genuinely blurry picture, text that is simply too small, and a missing display resolution are related problems, but they do not have the same fix.
If your monitor is blank or says No Signal instead, use Monitor Says No Signal: Simple Checks to Try First rather than following the resolution checks below.
Quick answer: If an external monitor looks blurry or the resolution seems wrong in Windows 11:
- Open Settings → System → Display and make sure you have selected the external monitor.
- Check Display resolution and use the option marked Recommended where appropriate.
- If the picture is sharp but text and icons are too large or too small, adjust Scale instead of lowering the resolution.
- If the expected resolution is missing, reconnect the display and check whether a dock, adapter, cable or port is affecting the connection.
- Move on to Windows updates or graphics-driver troubleshooting only if the simpler checks do not help.
Microsoft recommends selecting the display you want to change first and normally using the recommended resolution. Running a monitor below its native resolution can make text appear less sharp or make the picture look stretched, bordered or incorrectly sized.
First, work out what actually looks wrong
Before changing several settings at once, match the symptom to the most useful first check.
| What you see | Check first |
|---|---|
| Whole screen looks blurry or stretched | Display resolution |
| Picture is sharp but text and icons are too large or small | Scale |
| Correct resolution is missing | Connection path |
| Only one programme looks blurry | That programme or its scaling behaviour |
| Monitor is blank or says No Signal | Signal/connection troubleshooting |
This distinction matters because lowering the resolution is not a good way to make text easier to read. It can make the whole display less sharp.
Make sure you are changing the external monitor
When a laptop and external monitor are both connected, Windows can use different settings for each screen.
Open:
Settings → System → Display
At the top of the page, Windows should show the connected displays as numbered boxes.
Select the external monitor before changing its settings. If you are not sure which number belongs to which screen, use Identify.
This is worth checking before anything else because otherwise you may change the laptop screen while the external monitor remains untouched.
Microsoft’s guide to using multiple monitors in Windows explains how Windows identifies and manages each connected display.
If the external monitor does not appear in Display settings at all, this has become a detection problem rather than a resolution problem. Follow Laptop Won’t Detect a Second Monitor: What to Check instead.
Check the monitor’s display resolution
With the external monitor selected, look for:
Settings → System → Display → Display resolution
Windows will usually mark one resolution as Recommended.
Start with that option unless you have a specific reason to use something different.
For example, a monitor designed for 1920 × 1080 may look noticeably softer if Windows is sending a lower resolution and then stretching that image across the full screen.
Microsoft’s screen resolution and layout guidance explains that lower-than-native resolutions can make text less sharp and may result in a picture that is small, centred, bordered or stretched.
After changing the resolution, look at normal text, icons and the edges of windows rather than judging it from one photograph or video.
If the recommended setting restores a sharp, correctly proportioned picture, you can stop there.
What if the correct resolution is not listed?
If you know the monitor supports a particular resolution but Windows does not offer it, do not start forcing custom resolutions or uninstalling drivers straight away.
First check the connection between the computer and monitor.
The missing option can be a clue that Windows is not currently using the display in the way you expect, or that something in the connection path is affecting the available display modes.
We will check that shortly.
If everything is sharp but too large or small, check Scale
Resolution and scaling are easy to confuse.
They do different jobs:
- Resolution affects the amount of image detail being sent to the screen.
- Scale changes how large text, icons and other Windows elements appear.

If the picture itself looks sharp but everything feels too small to read comfortably, lowering the resolution may make the display softer without solving the underlying issue properly.
Instead, with the external monitor selected, look at:
Settings → System → Display → Scale
Try the option Windows marks as Recommended first.
You may find that your laptop screen and external monitor use different scaling percentages. That is not automatically a problem.
Different screen sizes and resolutions can need different settings to remain comfortable to use.
Check whether Windows is duplicating or extending the displays
Press:
Windows key + P
You should see options including:
- PC screen only;
- Duplicate;
- Extend;
- Second screen only.
If the two screens have different resolutions, temporarily testing Extend can help rule out the current projection mode as part of the problem.
Treat this as a quick diagnostic check rather than a likely cause of blur. If it makes no difference, return to the display mode you normally use and continue.
What to check if the correct resolution is missing
If Windows does not offer the resolution you expect, work through the connection path before making more technical changes.
1. Disconnect and reconnect the monitor
Disconnect the display connection, then reconnect it firmly.
If the monitor connects directly to the computer, that may simply mean reconnecting the HDMI, DisplayPort or suitable USB-C cable.
If there is a dock, hub or adapter in between, reconnect those parts as well.
Then return to:
Settings → System → Display
Select the monitor again and check whether the expected resolution is now available.
Why this matters: Windows can re-detect the display when the connection is re-established. A simple reconnect is low-risk and gives you useful information before you change software.
2. Restart Windows
If the problem appeared after waking the computer from sleep, reconnecting a monitor or installing an update, try a normal restart.
Use:
Start → Power → Restart
After Windows loads again, return to Display settings and check the external monitor.
A restart is more useful here than repeatedly changing several resolution and scaling options without knowing which change affected the result.
3. Bypass a dock, hub or adapter if possible
If your setup currently looks like this:
Computer → dock or adapter → monitor
and the computer has a suitable direct display connection, temporarily test:
Computer → monitor
Do this only if you already have a compatible way to make the direct connection.
Microsoft includes removing docks, dongles, adapters and other accessories among its external-monitor troubleshooting checks.
If the expected resolution appears when the monitor is connected directly, that does not automatically prove the dock or adapter is faulty.
Instead, it tells you that the accessory path deserves closer attention. Its specifications, the computer port being used, the cable or the combination of devices may affect which display modes are available.
If you are using a USB-C-to-HDMI adapter and the problem has become more about whether that adapter or USB-C connection works correctly, see Why Doesn’t My USB-C to HDMI Adapter Work?.
4. Try another suitable port
If the computer has another video output that is compatible with the monitor, try it while keeping the rest of the setup as similar as possible.
For example, if two suitable HDMI or DisplayPort outputs are available, changing only the computer output can help identify whether one connection behaves differently.
Not every computer has an alternative port, so skip this check if yours does not.
5. Try another suitable cable if you already have one
If another known-working compatible display cable is available, try it without changing anything else.
The purpose is not to assume that a cable is making text blurry.
It is to find out whether changing one part of the connection allows Windows to offer the expected display mode.
If nothing changes, put the original cable back and continue rather than buying several replacements without evidence.
With USB-C in particular, do not assume that every cable supports the same video capabilities simply because the connectors fit.
What if only one programme looks blurry?
If Windows Settings, the desktop and most other programmes look sharp but one application does not, the monitor’s overall resolution is less likely to be the cause.
Some applications can behave differently when used across displays with different resolutions or scaling settings. In that case, check the programme’s own display or compatibility guidance before changing settings that affect the whole monitor.
Further Windows and graphics checks
If the resolution, scaling and connection checks have not solved the problem, Windows or the graphics driver deserves more attention.
These checks come later deliberately. There is little value changing or removing a driver if the problem was simply the wrong resolution or an accessory in the display path.
Restart the graphics driver
Press:
Windows key + Ctrl + Shift + B
The screen may briefly flicker or go blank while Windows resets the graphics driver.
Microsoft includes this shortcut in its external-monitor troubleshooting guidance for an existing setup that has suddenly stopped behaving correctly.
After the screen returns, check the resolution again.
If nothing changes, move on rather than repeatedly pressing the shortcut.
Check Windows Update
Open:
Settings → Windows Update
Check for available updates.
This is particularly reasonable if the display behaviour changed unexpectedly or the expected resolution disappeared.
Do not assume that an update caused the problem simply because one happened recently. Treat timing as a clue rather than proof.
Consider the graphics driver only after the simpler checks
If the issue began immediately after a graphics-driver change or Windows update, driver rollback may be relevant.
Microsoft also documents reinstalling the display driver as a later troubleshooting step when previous checks have failed.
Driver removal is more disruptive than changing Display settings, reconnecting the monitor or restarting Windows, so it should not be the first thing you try.
If you are not comfortable removing or reinstalling a graphics driver, check the support information from your computer or graphics manufacturer before proceeding.
How to tell where the problem probably lies
By this stage, the pattern from your tests is more useful than the original blurry picture.
The problem is more likely to be a Windows display setting if:
- selecting the recommended resolution fixes the sharpness;
- changing Scale fixes the size while the picture remains sharp;
- changing the Windows display mode resolves the mismatch.
The connection path deserves more attention if:
- the correct resolution appears when a dock or adapter is bypassed;
- another suitable port produces the expected resolution;
- another compatible cable changes which resolutions are available.
These results are clues rather than absolute proof that one part has failed.
Windows or the graphics driver deserves more attention if:
- the expected resolution disappeared unexpectedly;
- the problem started after a software or driver change;
- reconnecting or restarting repeatedly changes the available resolutions;
- the hardware works normally with another computer.
The monitor itself becomes more suspicious if:
- it shows the same problem with another suitable computer;
- more than one known-working compatible connection produces the same abnormal picture;
- the monitor shows obvious visual defects that do not depend on Windows settings.
Try to find a repeatable pattern before replacing anything.
When replacing hardware might make sense
A blurry external monitor or incorrect Windows resolution does not automatically mean you need a new monitor.
Replacement becomes more reasonable only after you have narrowed the problem down.
For example:
- the monitor shows the same fault with another suitable computer;
- a particular dock or adapter repeatedly prevents the expected display mode while a direct connection works;
- another known-working compatible cable repeatedly solves the problem;
- or a particular video output consistently behaves differently from another suitable output.
Even then, check the specifications and manufacturer guidance for the exact hardware before buying a replacement.
If the monitor loses the picture completely during your testing rather than simply looking blurry, move to the relevant signal troubleshooting instead. A direct HDMI connection that reports No Signal is covered separately in HDMI Connected but Monitor Says No Signal.
Frequently asked questions
Should both monitors use the same resolution?
Not necessarily.
Different monitors can have different native resolutions, and Windows allows you to select each connected display and adjust its settings separately.
The useful target is normally the appropriate recommended resolution for each individual display rather than making two different screens use identical numbers.
Should both monitors use the same scaling setting?
Not necessarily.
A high-resolution laptop screen and a larger external monitor may be more comfortable at different scaling percentages.
If both displays look sharp and text is a sensible size, different Scale settings are not automatically a problem.
Can a dock or adapter stop the correct resolution appearing?
It can contribute to the problem.
The resolution and refresh-rate combinations available depend on the complete display path, which can include the computer, video port, dock or adapter, cable and monitor.
Temporarily bypassing the accessory where practical is useful because it tells you whether the available resolutions change.
That does not by itself prove that the accessory is faulty. Compatibility or capability limits may also be involved.
Final takeaway
If an external monitor looks blurry in Windows 11, start by separating resolution from scaling.
Select the external monitor, try the recommended resolution, and use Scale if the picture is sharp but text is simply the wrong size.
If the expected resolution is missing, work through the connection path before moving on to drivers or replacement hardware.
Changing one thing at a time is much more useful than trying several display fixes together because each result helps show whether the problem is more likely to be a Windows setting, the connection path or the monitor itself.