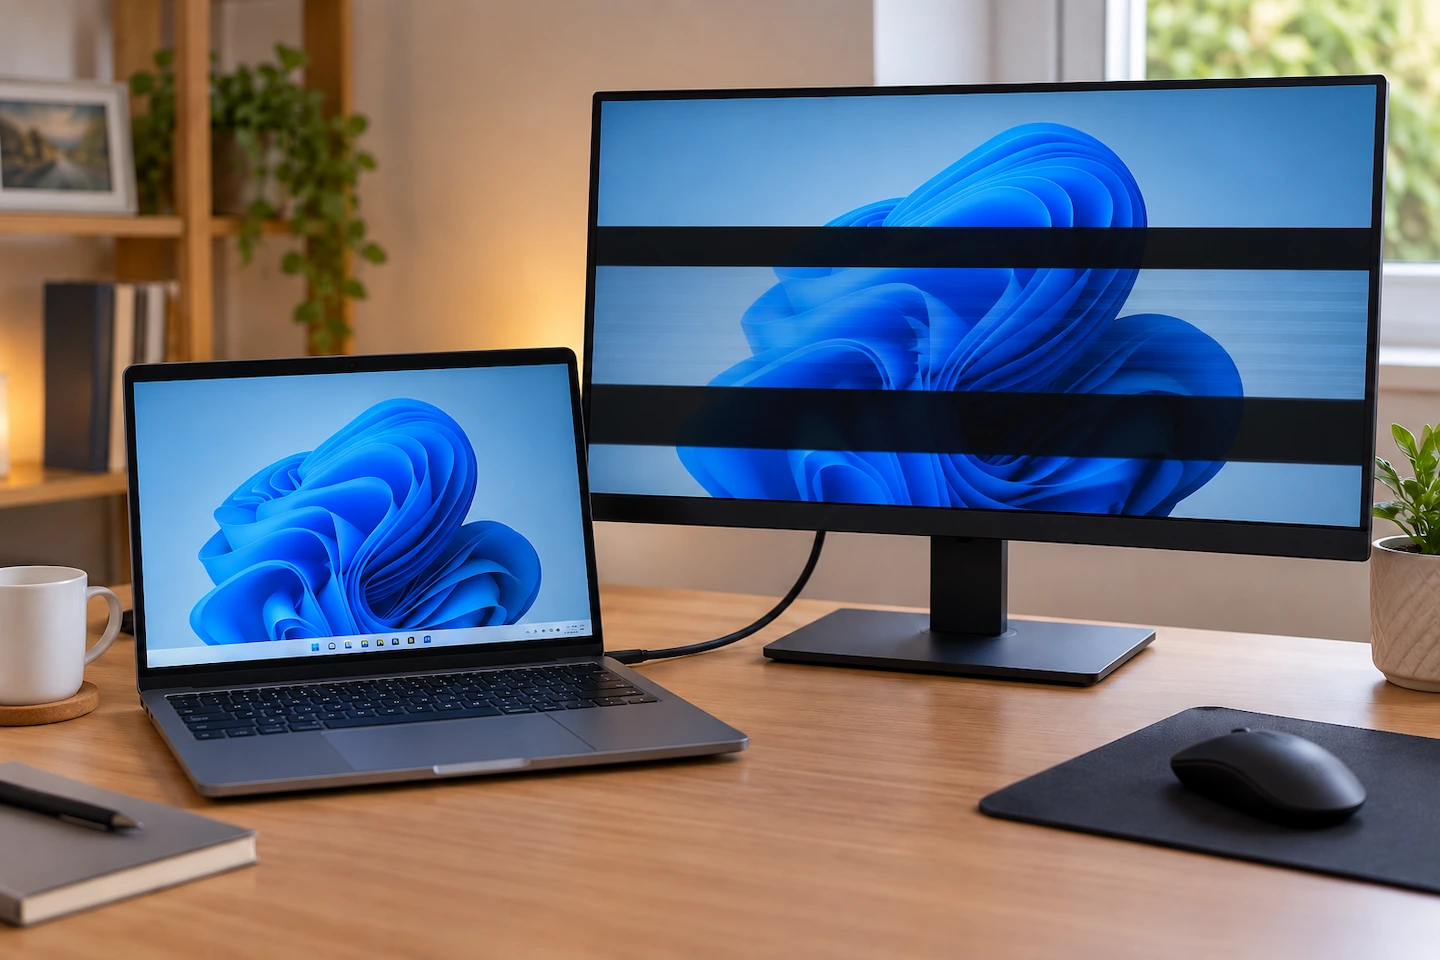
External monitor flickering or cutting out does not necessarily mean the monitor is failing.
The problem can come from the display cable, a dock or adapter, the connection between the computer and monitor, Windows display settings or the graphics driver. The most useful approach is to change one thing at a time so you can narrow down where the fault is.
This guide is for a monitor that does display a picture but is unstable. If the screen stays blank or permanently says No Signal, see Monitor Says No Signal: Simple Checks to Try First instead.
Quick answer: If an external monitor flickers or keeps cutting out:
- Reseat the display cable at both ends.
- If possible, try another suitable cable.
- If you use a dock, hub or adapter, temporarily connect the monitor directly to the computer.
- Try another suitable video port if one is available.
- Check the affected monitor’s resolution and refresh rate in Windows.
- Only then move on to graphics-driver troubleshooting.
The important part is not simply trying lots of fixes. Pay attention to which change makes the problem stop, because that helps identify where the fault is.
What external monitor flickering usually means
A flickering or intermittently black external screen can have several causes.
The main areas to consider are:
- the HDMI, DisplayPort or USB-C cable;
- the physical connection or video port;
- a dock, hub or display adapter;
- the resolution or refresh rate being used;
- Windows or the graphics driver;
- the monitor itself.
Before changing settings, notice whether only the external monitor is affected.
If your laptop’s built-in display remains completely normal while the external screen flickers, it makes sense to investigate that monitor’s connection path first.
If several connected screens flicker at the same time, the graphics system or Windows becomes more relevant.
What to check first
Start with the physical connection. These checks are quick, reversible and can tell you a lot without changing Windows settings or reinstalling anything.
Reseat the cable at both ends
Disconnect the display cable and reconnect it firmly.
If possible, check both ends:
- the connection at the computer, dock or adapter;
- the connection at the monitor.
If the monitor has more than one input, make sure you are reconnecting the cable for the input you actually use.
An intermittent connection may still produce a picture much of the time, so a monitor that normally works does not rule out a connection problem.
Use the monitor for a while after reconnecting the cable before changing anything else. If the flickering has stopped, you may already have found the cause.
Try another suitable cable
If the problem continues and you have another compatible cable available, try it.
Change only the cable if possible. Keeping everything else the same makes the result more useful.
If the replacement cable works reliably while the original one produces flickering or brief black screens, the original cable or its connection becomes the obvious area to investigate.
Do not assume that every cable with the same connector has exactly the same capabilities. This is particularly important with USB-C, where cables can support different combinations of charging, data and video.
If you are using USB-C for both charging and an external display, Can USB-C Charge a Laptop and Run a Monitor at the Same Time? explains why the capabilities of the laptop, monitor and connection all matter.
Bypass a dock, hub or adapter
If your monitor is connected like this:
Computer → dock, hub or adapter → cable → monitor
temporarily simplify the connection if your hardware allows it:
Computer → monitor
For example, if a laptop normally connects to a dock and the monitor connects to that dock, try connecting the monitor directly to a suitable video output on the laptop.
This does not mean the dock is definitely faulty.
The point is to remove one part of the connection path.
If the monitor becomes stable when connected directly, the dock, hub, adapter or the connections around it deserve further investigation.
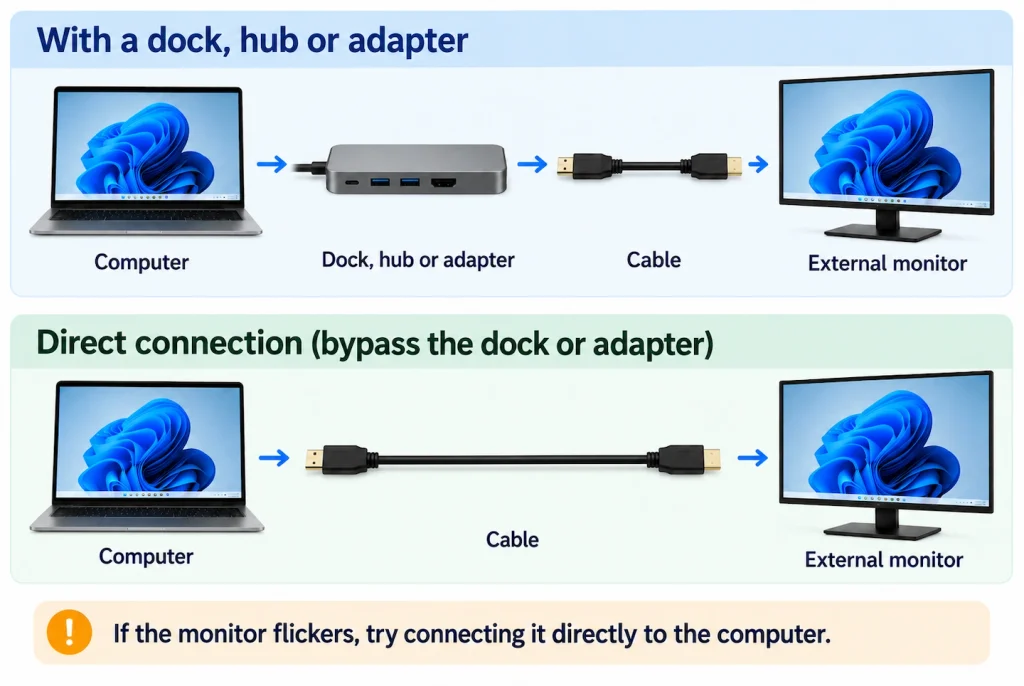
Microsoft also recommends removing docks, dongles and adapters where possible when troubleshooting an external display connection. Its external monitor troubleshooting guidance also suggests testing another cable or video output as part of isolating the problem.
Try another port or connection path
If your computer or monitor has another suitable video connection, try it.
For example, you might be able to move an HDMI cable to another HDMI output or test a DisplayPort connection instead of the one currently being used.
Again, change one thing at a time.
If the monitor becomes stable after changing ports while the rest of the setup remains the same, the original port or connection path becomes more suspect.
If nothing changes, move on.
Be particularly careful with USB-C. A USB-C socket does not automatically mean the port supports video output, and capabilities can vary between ports on the same computer.
Check the monitor’s resolution and refresh rate
If the cable and connection path look sensible, check the display settings Windows is using for the affected monitor.
The refresh rate is how many times the display updates its picture each second. You may see values such as 60 Hz, 120 Hz or 144 Hz.
In Windows 11:
- Open Settings.
- Select System.
- Select Display.
- If you have more than one screen, make sure the external monitor is selected.
- Open Advanced display.
- Check the resolution and refresh rate being used.
Microsoft explains the available controls in its guide to changing a monitor’s refresh rate in Windows.
Make sure you are changing the correct monitor
On a laptop with an external screen, Windows may list both displays.
Before changing anything, confirm that you have selected the monitor that is actually flickering.
This avoids changing the laptop screen’s settings by mistake.
Test a lower supported refresh rate
If the external monitor is running at a high refresh rate, temporarily try a lower supported setting.
For example, if 60 Hz is offered as a supported option, it can be useful as a test.
Use the computer normally for a while afterwards.
If the flickering disappears at the lower refresh rate, that does not automatically mean you must permanently leave the monitor at 60 Hz.
Instead, it is a clue.
The problem may involve the display mode being used or something in the connection path — such as the cable, dock, adapter or video output — struggling with the particular resolution and refresh-rate combination.
If changing the refresh rate makes no difference, return to an appropriate supported setting and continue troubleshooting.
Reset the graphics driver
If the physical connection and display settings have not identified the problem, you can try resetting the Windows graphics driver.
Press:
Windows + Ctrl + Shift + B
The screens may briefly flash or go black while Windows resets the graphics driver.
Microsoft includes this shortcut in its Windows screen-flickering troubleshooting guidance.
If the monitor behaves normally afterwards but the problem eventually returns, that is useful information, but it does not necessarily mean the driver itself is permanently fixed.
Continue to look for the underlying cause.
If the flickering started after an update
Think about when the problem began.
If the external monitor had been working normally and started flickering immediately after:
- a graphics-driver update;
- a Windows update; or
- installing graphics or display-related software,
the timing makes that change worth investigating.
Do not start by repeatedly installing and uninstalling drivers simply because a monitor flickers. The cable, dock and display-setting checks above are safer and easier to reverse.
If the simpler checks have failed, Microsoft recommends checking the display driver as part of its Windows display troubleshooting. Depending on what changed, that may mean checking for an appropriate updated driver or considering a rollback when Windows offers that option.
Avoid third-party driver-cleaning tools, Registry changes or other aggressive fixes unless you have a specific reason to use them. They add complexity without helping most home users identify a simple display problem.
How to tell whether the monitor or computer is causing it
By this point, the tests you have already performed should give you some useful clues.
| What happens | What it suggests |
|---|---|
| Another suitable cable stops the flickering | Investigate the original cable |
| Connecting directly instead of through a dock fixes it | Investigate the dock, hub, adapter or intermediate connection |
| Another video port works normally | The original port or connection path deserves investigation |
| A lower supported refresh rate stabilises the screen | Display settings or the signal path may be involved |
| The same monitor flickers when connected to another computer | The monitor, cable or monitor-side connection becomes more likely |
| Another monitor works normally with the original computer | The original monitor or its connection becomes more likely |
| Several displays flicker at the same time | Windows or the graphics system becomes more relevant |
None of these results proves a diagnosis by itself.
They are useful because they narrow down what you should investigate next.
Try the monitor with another computer
If another computer with a suitable video output is available, connect the problem monitor to it.
Where practical, use a known-good cable.
If the same flickering appears on two different computers, attention shifts towards the monitor, its connection or the cable.
If it works perfectly on the second computer, the original PC or its display connection becomes more relevant.
Try another monitor on the original computer
You can also test in the other direction.
If another monitor works reliably from the same computer and connection path, while the original monitor continues to flicker, that provides stronger evidence that the original display or its connection deserves attention.
Cross-testing is much more useful than replacing hardware simply because a screen flickered once.
When the monitor itself may be the problem
A flickering screen alone is not enough reason to replace a monitor.
The monitor becomes more likely to be involved when several pieces of evidence point in the same direction.
For example:
- it shows the same fault on more than one computer;
- more than one suitable cable produces the same problem;
- bypassing docks and adapters makes no difference;
- another monitor works reliably with the original computer;
- the screen shows additional visual instability regardless of the connection being used.
If the monitor is still under warranty, check the manufacturer’s support information before arranging a repair or buying a replacement.
The important point is to eliminate the simpler and cheaper possibilities first.
Problems that need a different troubleshooting approach
This guide assumes the external monitor can display an image.
If that is not what is happening, a different troubleshooting route may be more useful.
If the screen permanently says No Signal, start with Monitor Says No Signal: Simple Checks to Try First.
If Windows cannot detect the second monitor at all, see Laptop Won’t Detect a Second Monitor: What to Check. That covers Windows detection, cables, ports, docks and monitor checks for a display that is missing from Windows rather than one that flickers intermittently.